
How to: Perfectly Perky Beach Waves
Hey lady -
Ever wonder how to get those perfectly perky beach waves you always see in the summer?
Well I’m here to show you!

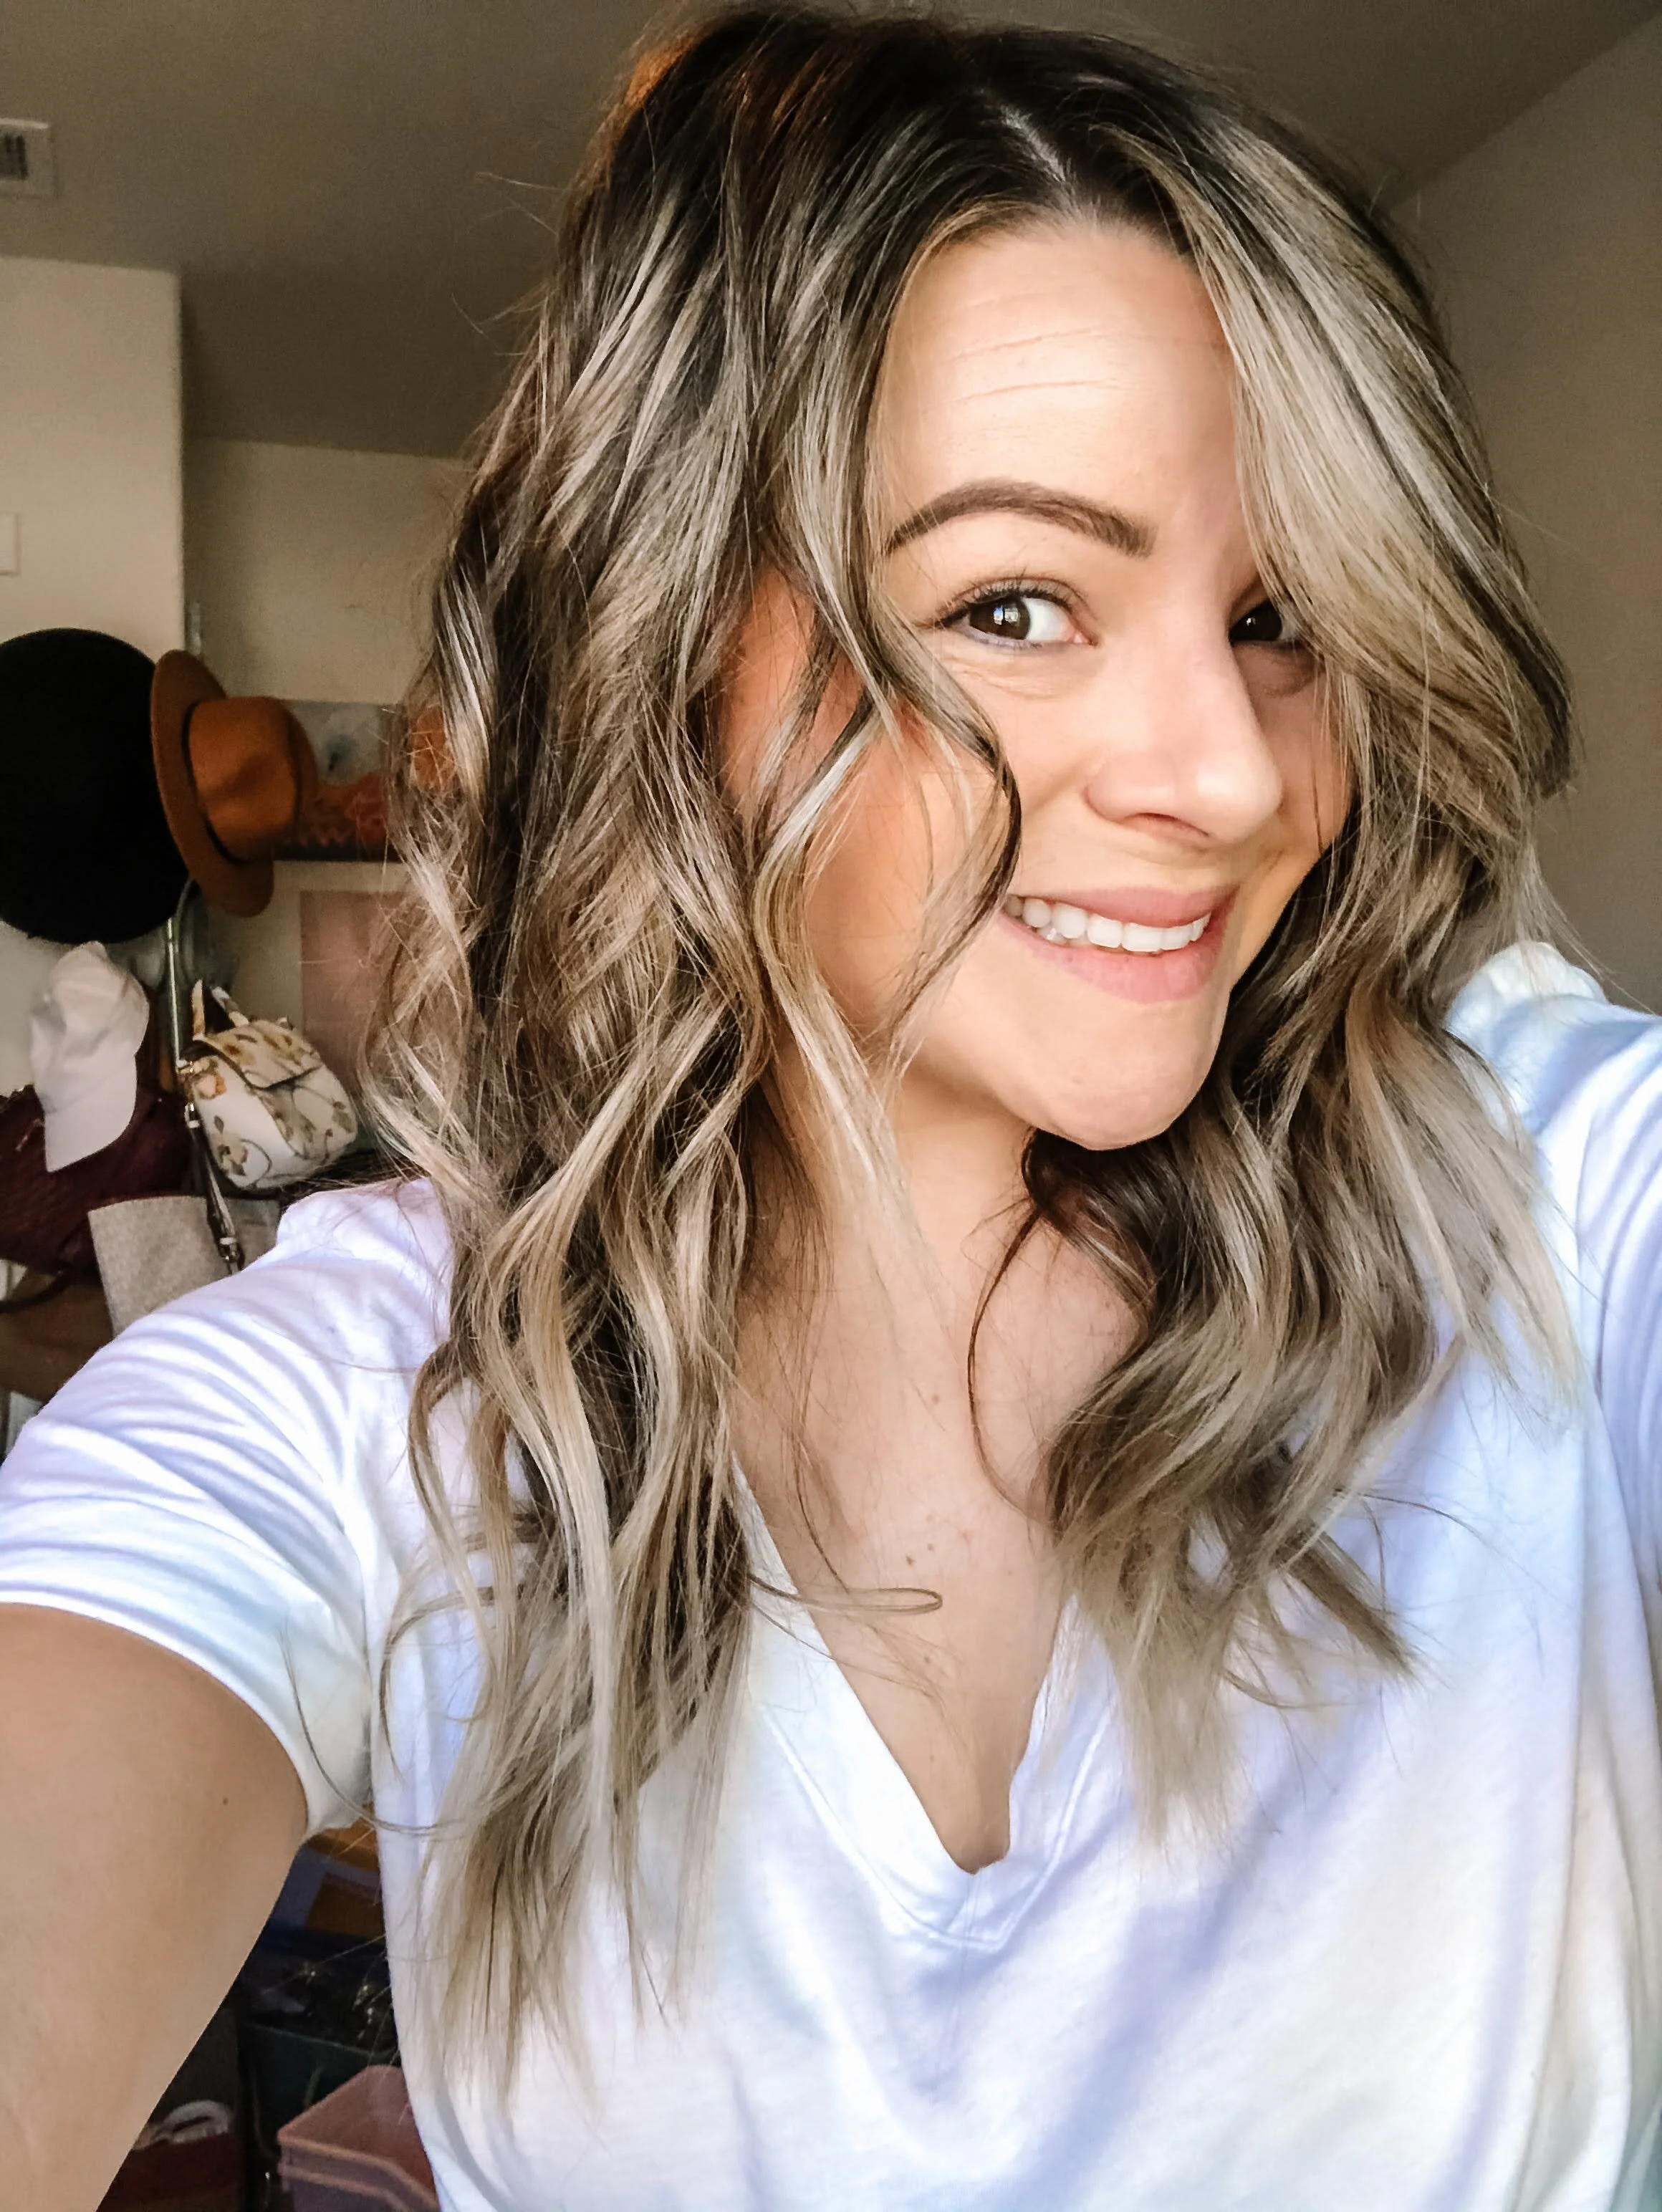
Beach waves are my all-time favorite and ‘go to’ hair style. There’s something about a light wave in my hair that makes me feel more like my ‘most fabulous self’. It’s no stretch to say that when I put the work in to create perfectly perky beach waves, I walk away from my mirror feeling, “Styled to Smile”.
Before I get going into this, I wanted to start with a few general thoughts, tips, and notes:
Beginners - Don’t overthink it. These waves are not meant to be perfect! Just have fun
My main secret here is in the curling wand shape: I use an OVAL barrel and I think it’s the best thing since sliced bread. It is incredibly hard to find though, so don’t worry if you have a standard round barrel. This will work FINE.. but maybe, hold the heat on your hair a second longer to really make sure the curls come out ‘perky’
ADVANCED TIP: for making curls ‘perky’: after wrapping your strand of hair around the wand, wiggle the wand back-and-forth at the base of the strand to create tension.
ADVANCED TIP: After doing a curl that wraps away from your face, do another going the opposite direction. Curl strands every other direction until you reach either the back or front, depending on where you started for extra volume.
If you don’t have clips, Don’t worry! Hair bands work fine for separating.
I use a lot of product and fun things when I do my hair. These items make it all come together for me - but some are not necessarily NECESSARY. Items that you HAVE TO HAVE in order to copy this style are a curling wand/iron, hair brush, and something to separate your hair with. Hairspray really doesn’t hurt, but if your hair holds without it - you don’t really need it.
I like to separate my hair in 3 sections. The base (bottom layer of hair), The middle (middle layer of hair located between ears and brows), and The Bangs (top layer of hair).
OK - Let’s get into it!

PART 1
Prep + Get Started
To start, Grab all your supplies and get your curling iron heated up. Your hair should be slightly dirty, either wash the night before and sleep on it or go with ‘next day’ hair. If you can’t get by washing your hair every other day or have to wash before you style - dirty it up a bit before curling. What you really need here is texture, so that your curls do not all form or stick together. Here I curled next day hair + added a little dry shampoo too, for volume.
Next, start separating out your bottom most layer from the rest of your hair. Don’t worry about making the section small or large, just use somewhere around your ears as a reference point. Pin up whatever hair you gather and leave the bottom layer loose.
Take the curling wand in the hand you are most comfortable (right or left) and wrap a section of hair (the same size as the curling wand barrel) away from your face. Start in the back or front, whatever feels comfortable for you - I don’t think it matters.
Hold the section up with the hand not holding the curling wand and place the wand close to your scalp as you’re comfortable to start wrapping. Wrap the section of hair around the barrel as flat as you can (by this, I mean keep the hair from twisting as you wrap it around the wand) until you’re close to the ends. Leave about 1/2-1” of your hair off the wand. You do not want to curl the ends of each strand - they should be straight.
Hold each section for about 5 seconds to set the curl. I do 5 seconds roughly because I don’t like to make these curls too tight.. if you do, you will have to work them harder to get them to become waves later. Now do the other side.
This is the basis for your whole head. You will repeat these steps over and over on each section/layer of your hair. The only difference is the sections of hair get smaller as you work upwards. That’s the real trick!
Part 2
Keep curling + Finish
Once you’ve got the bottom section of your hair all curled, go ahead and spray on a heavy coat of hairspray. I run my fingers through the bottom of my hair like crazy during the day, so I always consider this step “setting my base” so I know it will last all day. Do not run your fingers through yet though! You need your curls to set - so don’t touch until the end!
Next, let down your pinned up hair. Go about 1-2” up from wherever you last sectioned your hair and section again. Pin up the top layers to reveal a 1-2” section of straight hair on top of your beautifully done curls. This is the section I refer to as “the middle”.
Remember where you started last time? Do that again. If you started at the back of your head - go there to start part 2. If you started in the front - go there and start wrapping your curls. Same method & process - but make it tighter. This time, grab a section of hair slightly smaller than the curling wand barrel and start wrapping until you’ve done the entire middle layer. See above for refresher on how to wrap strands.
I typically do not spray this section when I’m done curling; I like this layer to keep all the body and movement it can. It will get sprayed when I mist the top “bangs” layer, which you’re ready to move to next. Let that hair out and let’s finish this ‘do’ off!
For the top “bangs” layer, start at the longest parts of your hair and work toward the shortest (your bangs). Again, same curling process until you’ve curled all of your hair.
Take your hairspray and generously cover all of your locks to finish the look + ensure it stays all day. Next, take your shine serum (or anything that helps to de-frizz) and rub a small amount through your palms before working your fingers through your curls. Break up your curls by running your fingers underneath and through hair.
Give a final shake to your strands & VIOLA!! Perfectly Perky Beach Waves
To Shop any of the Products I used in the videos above, click the links below!
1) IGK ‘Direct Flight Multi Tasking’ Dry Shampoo
2) Dry Bar ‘Hold Me’ hair clips
3) Revlon 1” Oval Curling Wand* (my opinion, this shape is the best. Any 1” wand will work though)
4) Hairbrush*

I’d love to see your curls!
Post a selfie using #styledtosmile and please tag @styledtosmile so I can see how great you look!
Thanks for reading, loves.

